Anicons is the world’s first animated color icon font, based on Material Design Icons. Anicons is an experiment that combines two cutting edge font technologies: variable fonts and color fonts. In this post, we will share our process of creating Anicons and lessons learned.
A Quick Overview of Variable Fonts and Color Fonts
Variable font technology allows a single font to act like multiple fonts. When you install a variable font, you have the flexibility to control many stylistic elements, such as weight, width, of the font. For designers, this means more choices, ease, and control. For non-designers, this means the ability to quickly create designs with more flexibility.
Variable fonts are made possible by a process called multiple masters. A master is essentially a template for the font. If we are creating a font with variable weight, we create two masters—the first master is the lightest weight; the second master is the boldest weight. Once we export a variable font file, the file will contain all the possible interpolation between the two masters.
Color fonts embed additional data to display more graphics properties, like color, texture, and shading. Color fonts are the perfect technology for icons because most icons are systematic, colored or multicolored. The specific type of color fonts we have chosen to experiment with is COLR/CPAL, mostly because it has simpler formatting than other types of color fonts.
Create your own Anicons
Apply Variable Fonts Technology
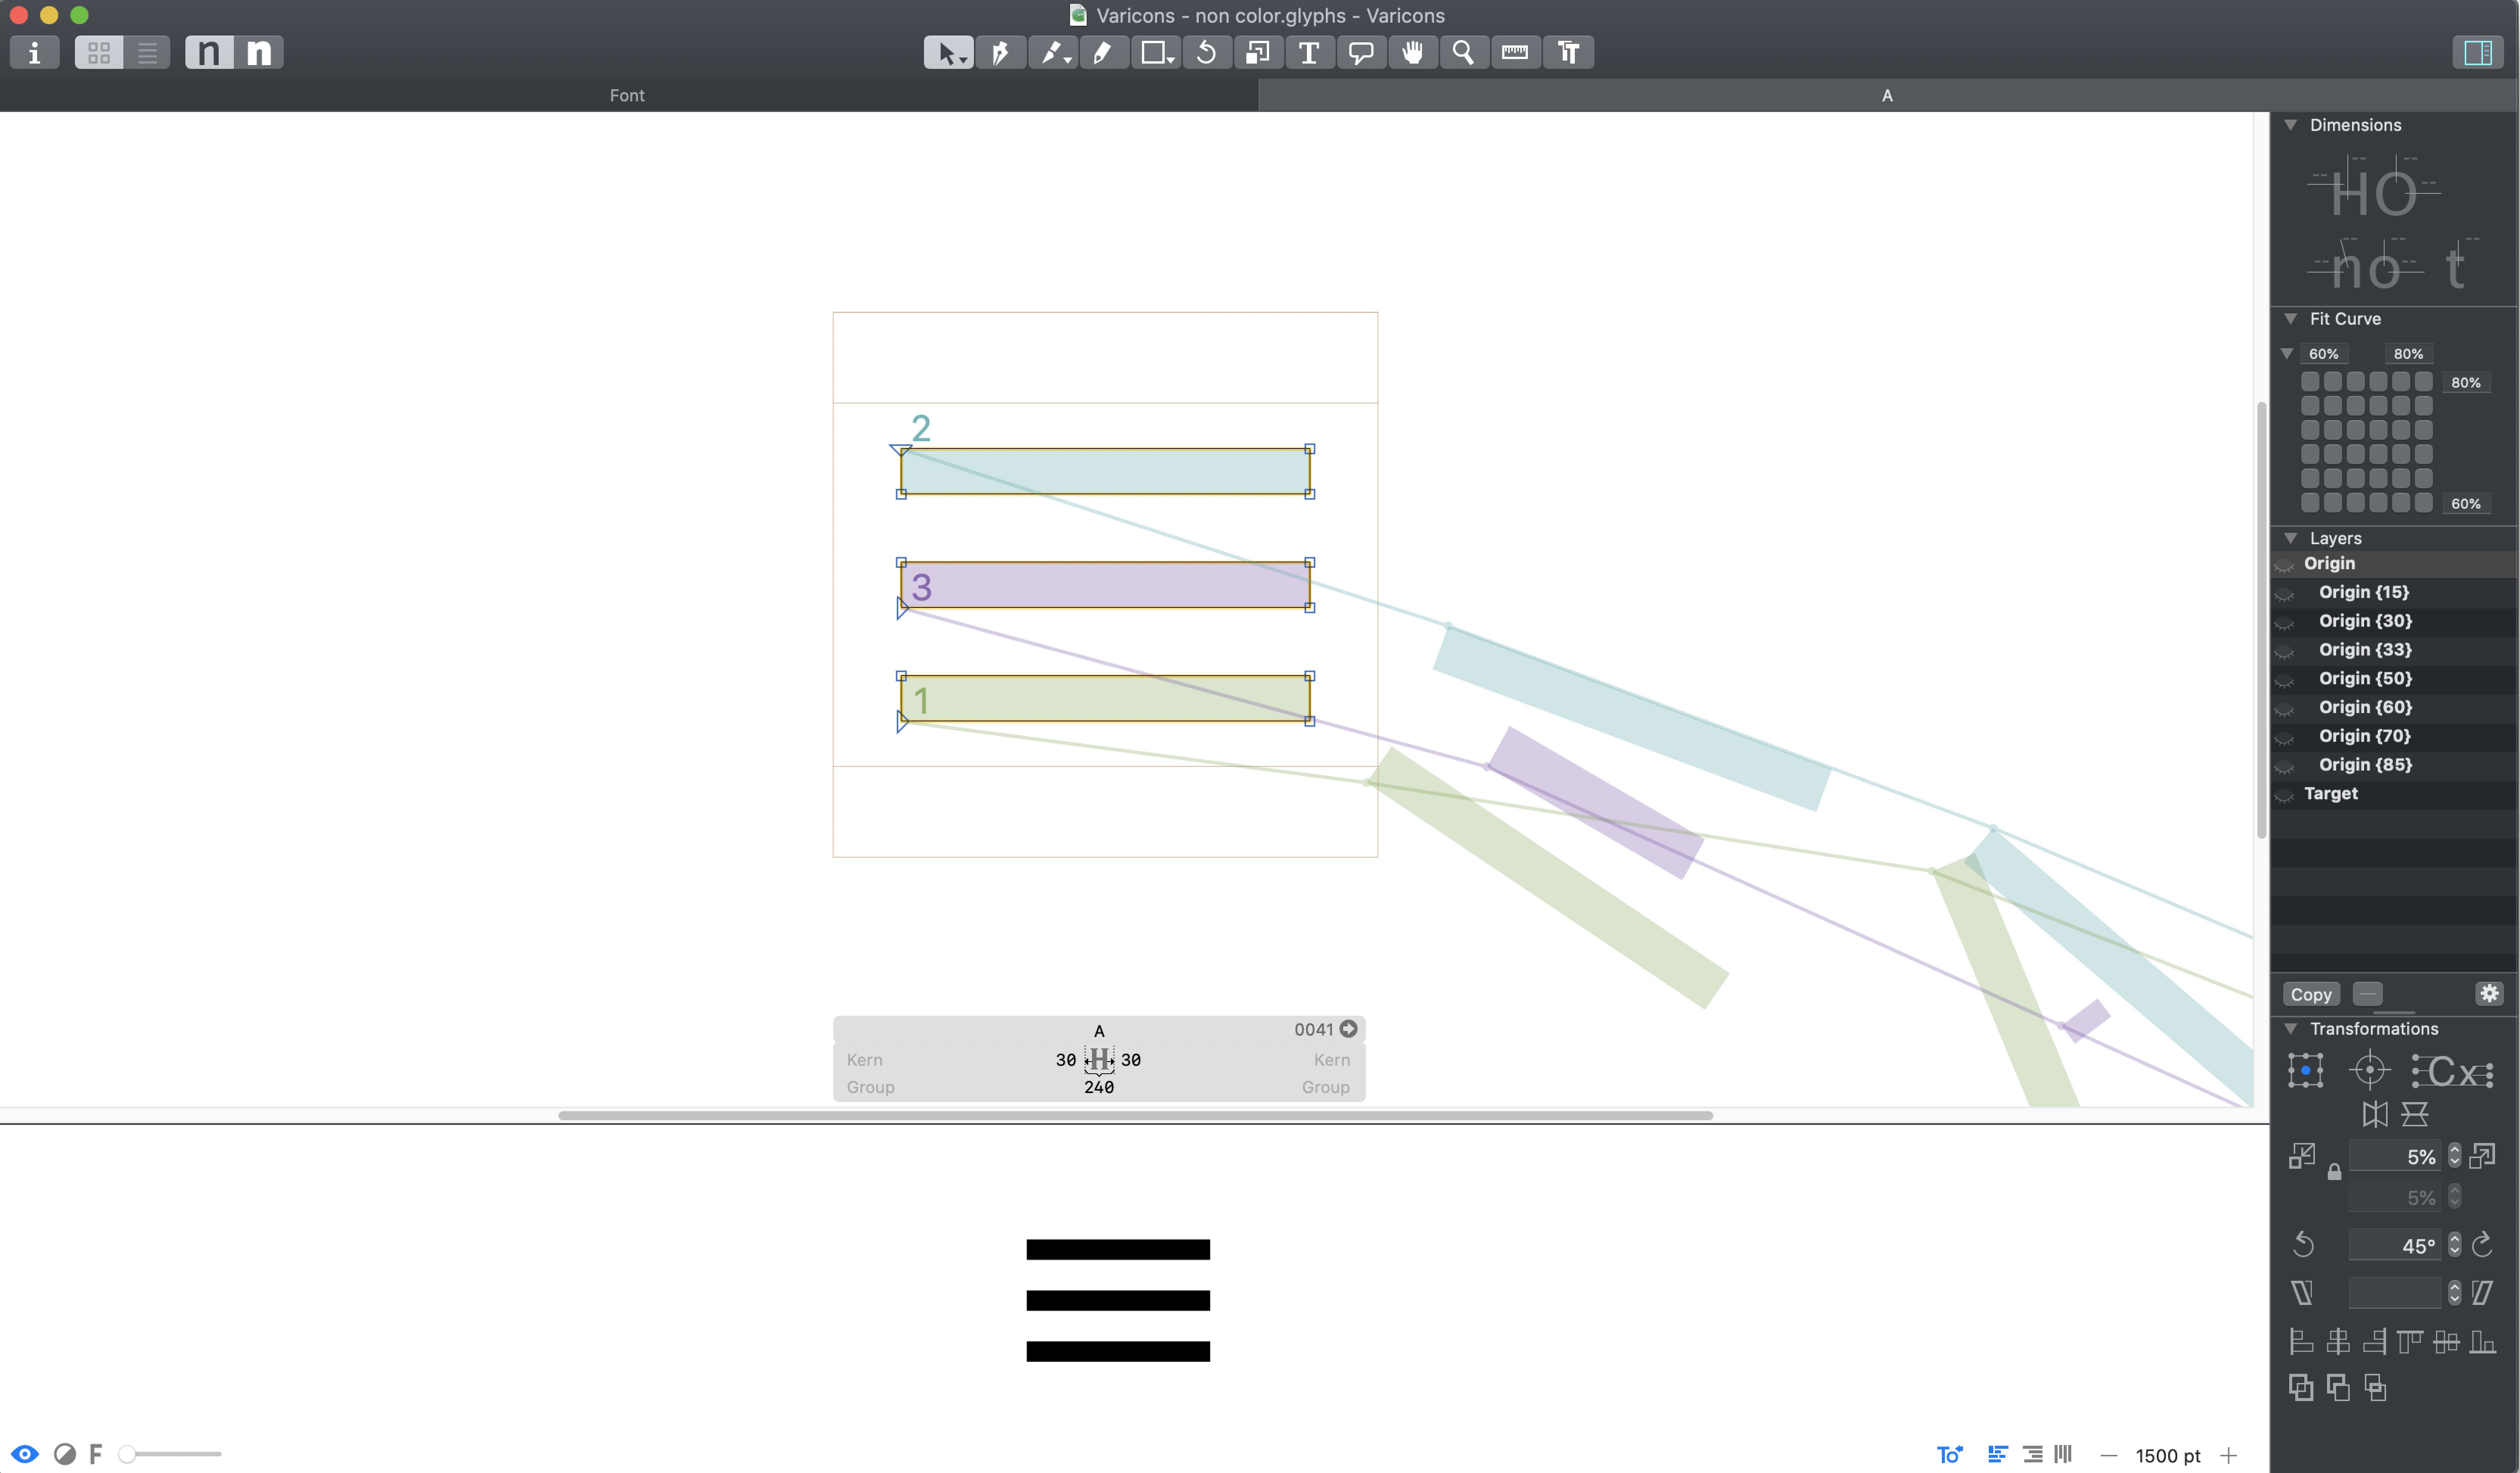
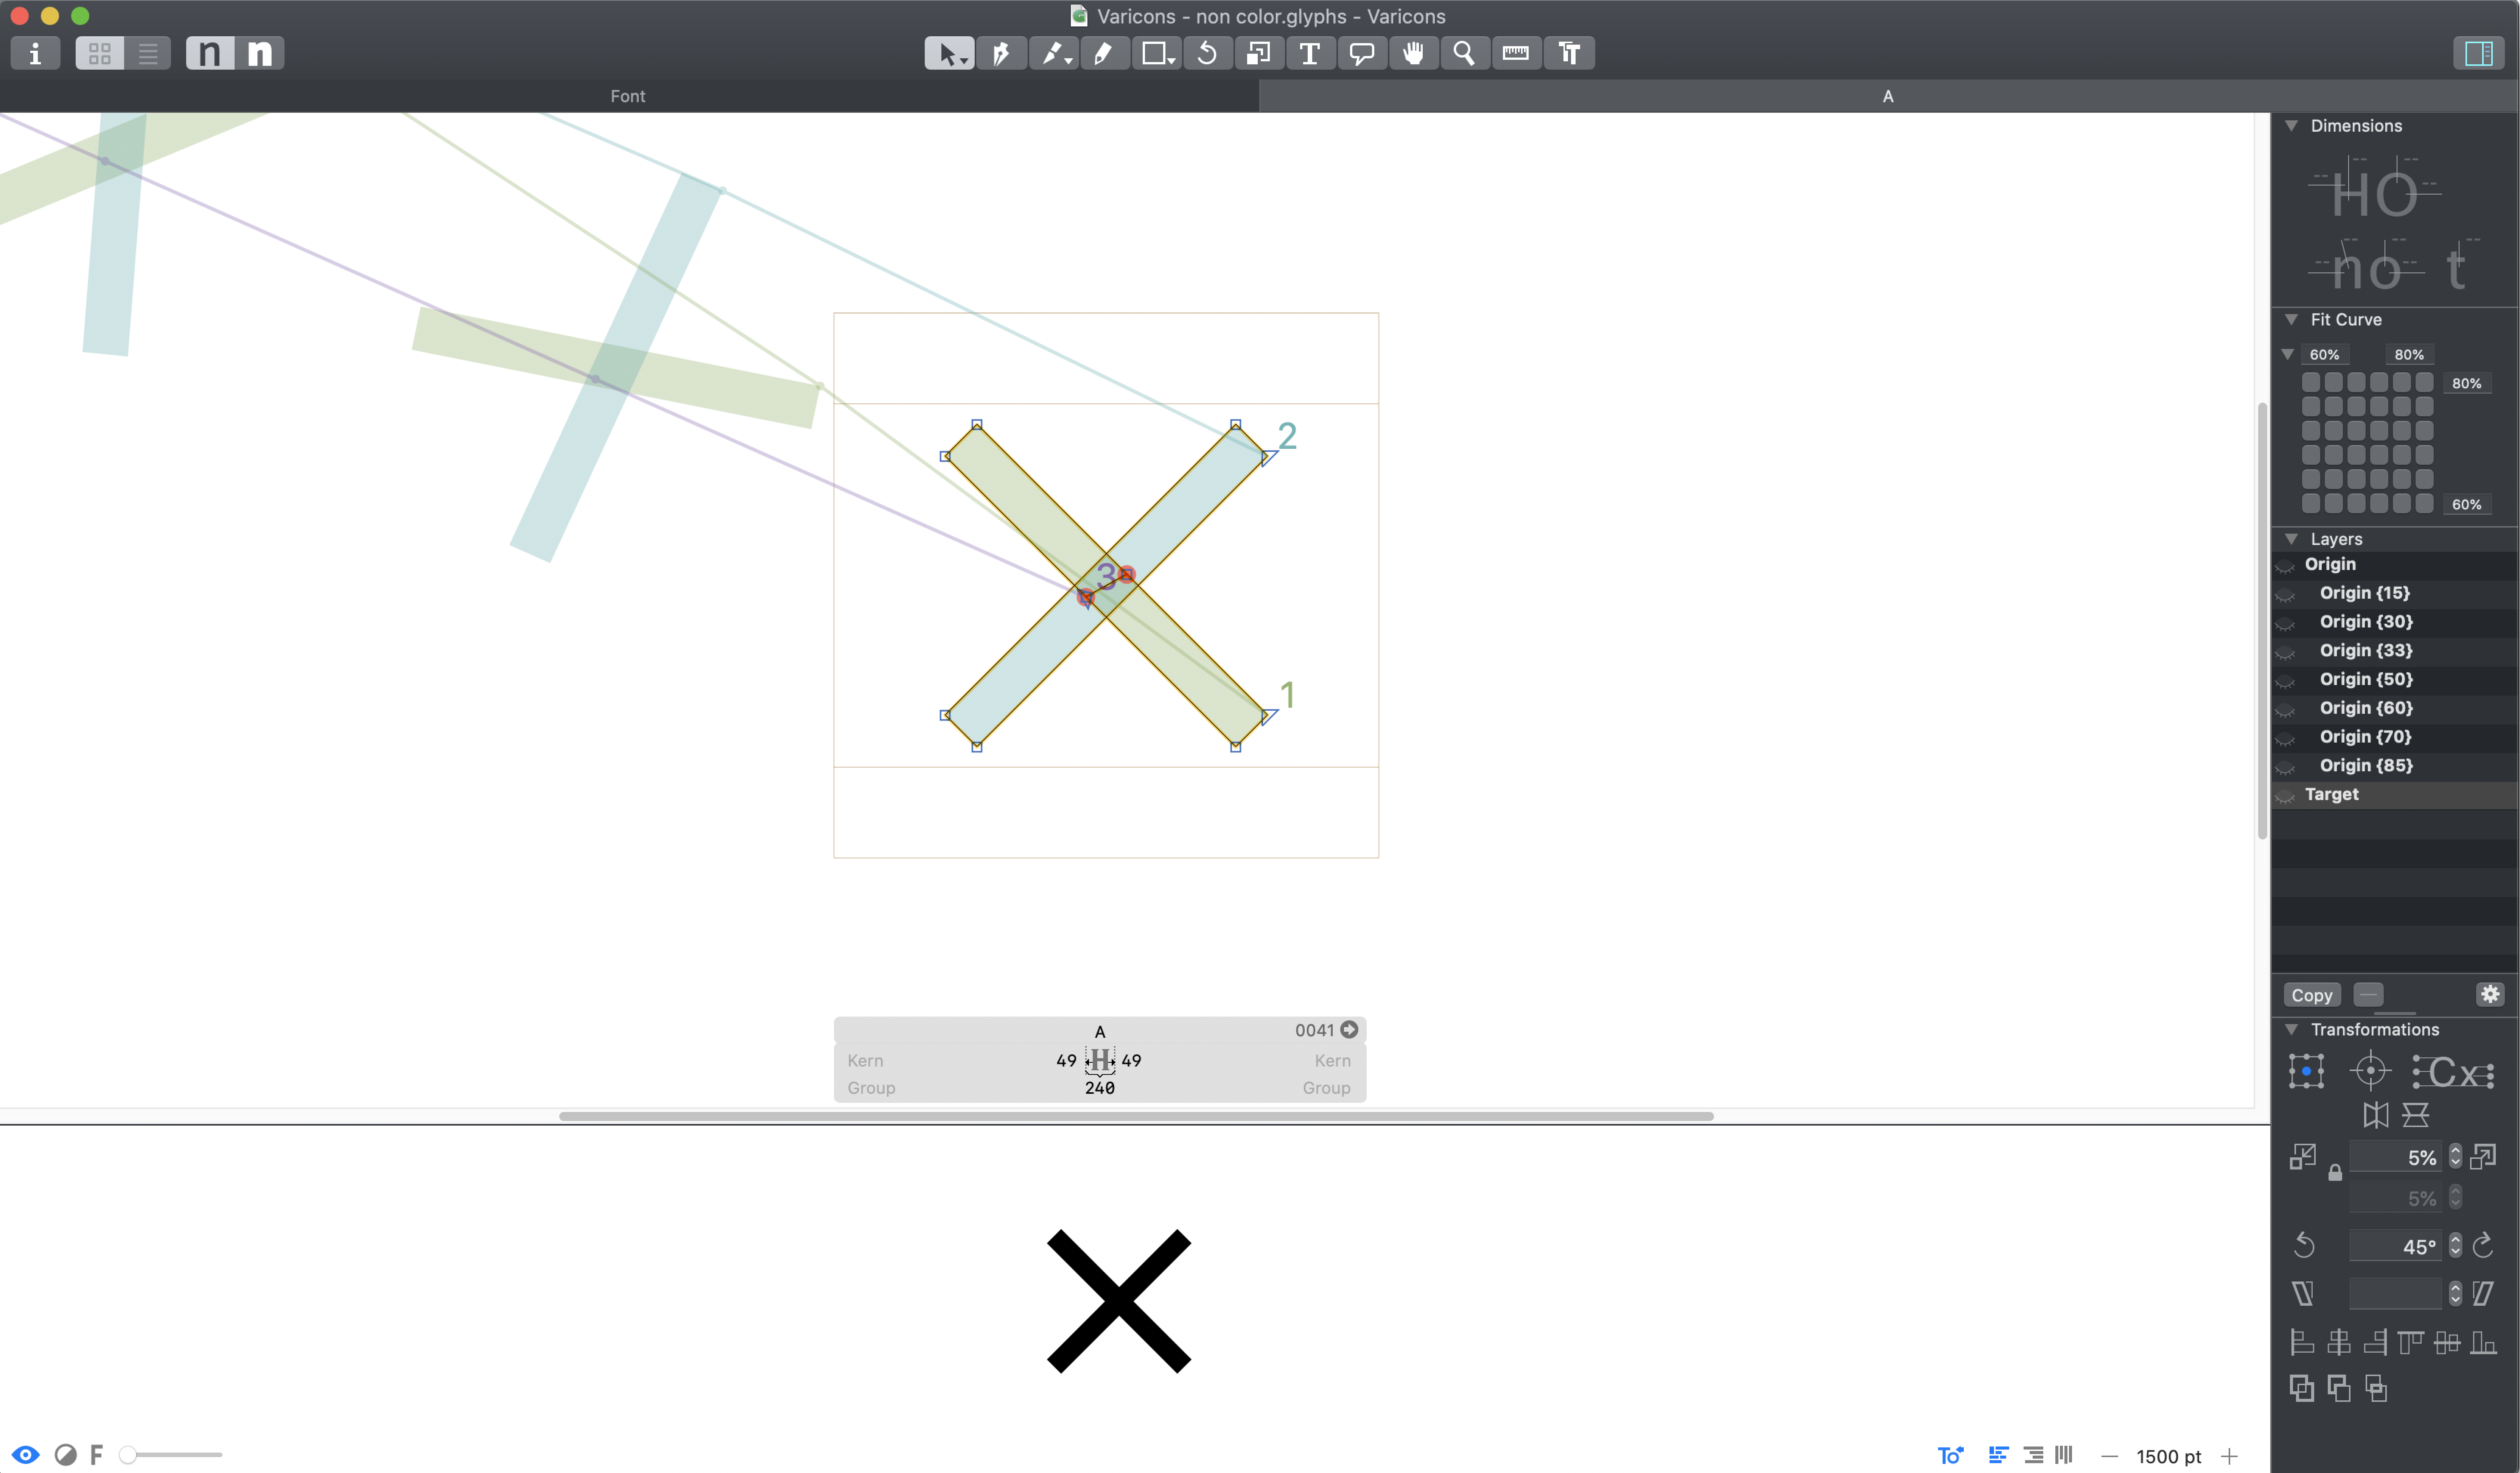
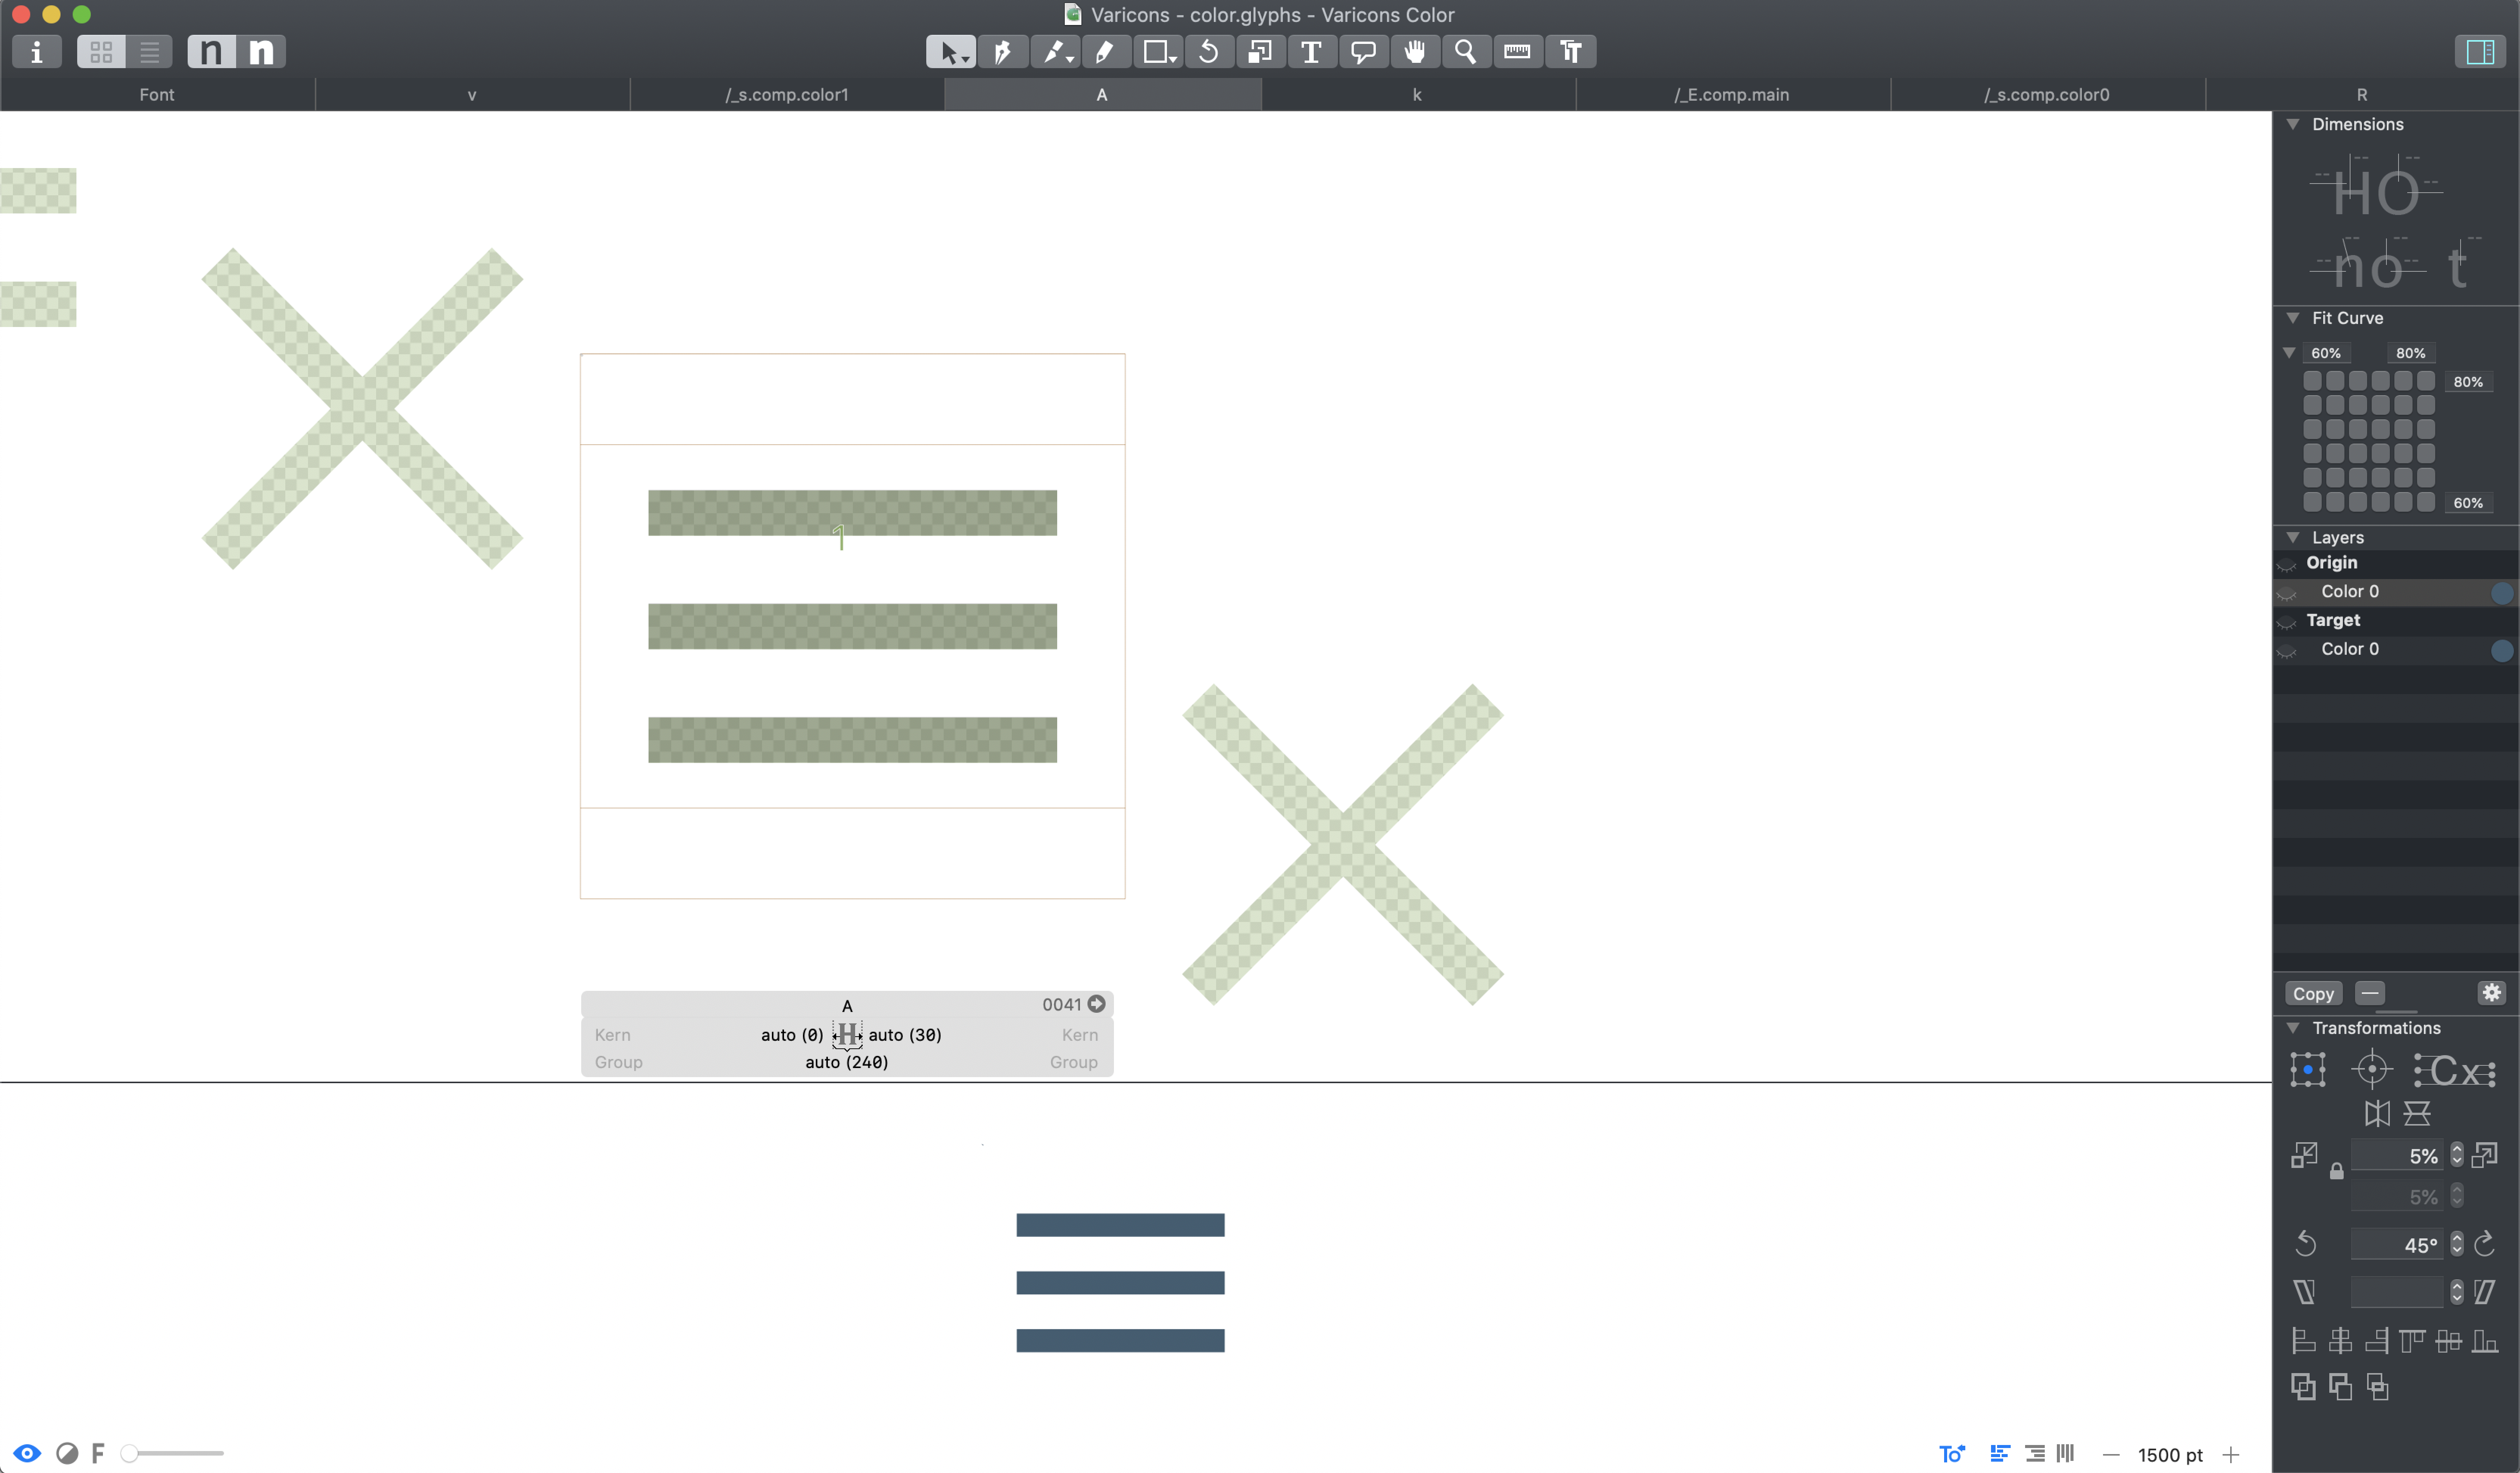
We used variable fonts technology to create and animate the variable icon fonts. For regular animated variable icons, first, add a custom time axis parameter and then, create two masters in Glyphs. The first master contains the initial icon on the Origin layer. This master represents the animation at the initial stage. The second master contains the final icon on the Target layer. This master represents the animation at its final stage. The icon font is animated when the browser transitions from the Origin to the Target layer. It is also possible to add additional sublayers, between Origin and Target layers, to control the animation.
Once this file is exported as an OTF, it will be a variable icon font with animation property.
Apply Color Fonts Technology
Single Color Icons
For single color icons, first, add a custom parameter to create a color palette with desired colors in the setting of the working variable icon font file. Then add additional color sublayers in both the Origin and Target layers.
Next, create two copies of each variable font icon. In the Origin and Target layers, import one copy of the icon as a component to use as a fallback option in case the browser cannot render color fonts. In the color sublayers of Origin and Target layers, import the second copy of the icon, again, as a component. This is the color version of the icon that will be rendered in the browser environment.


Two-Tone Icons
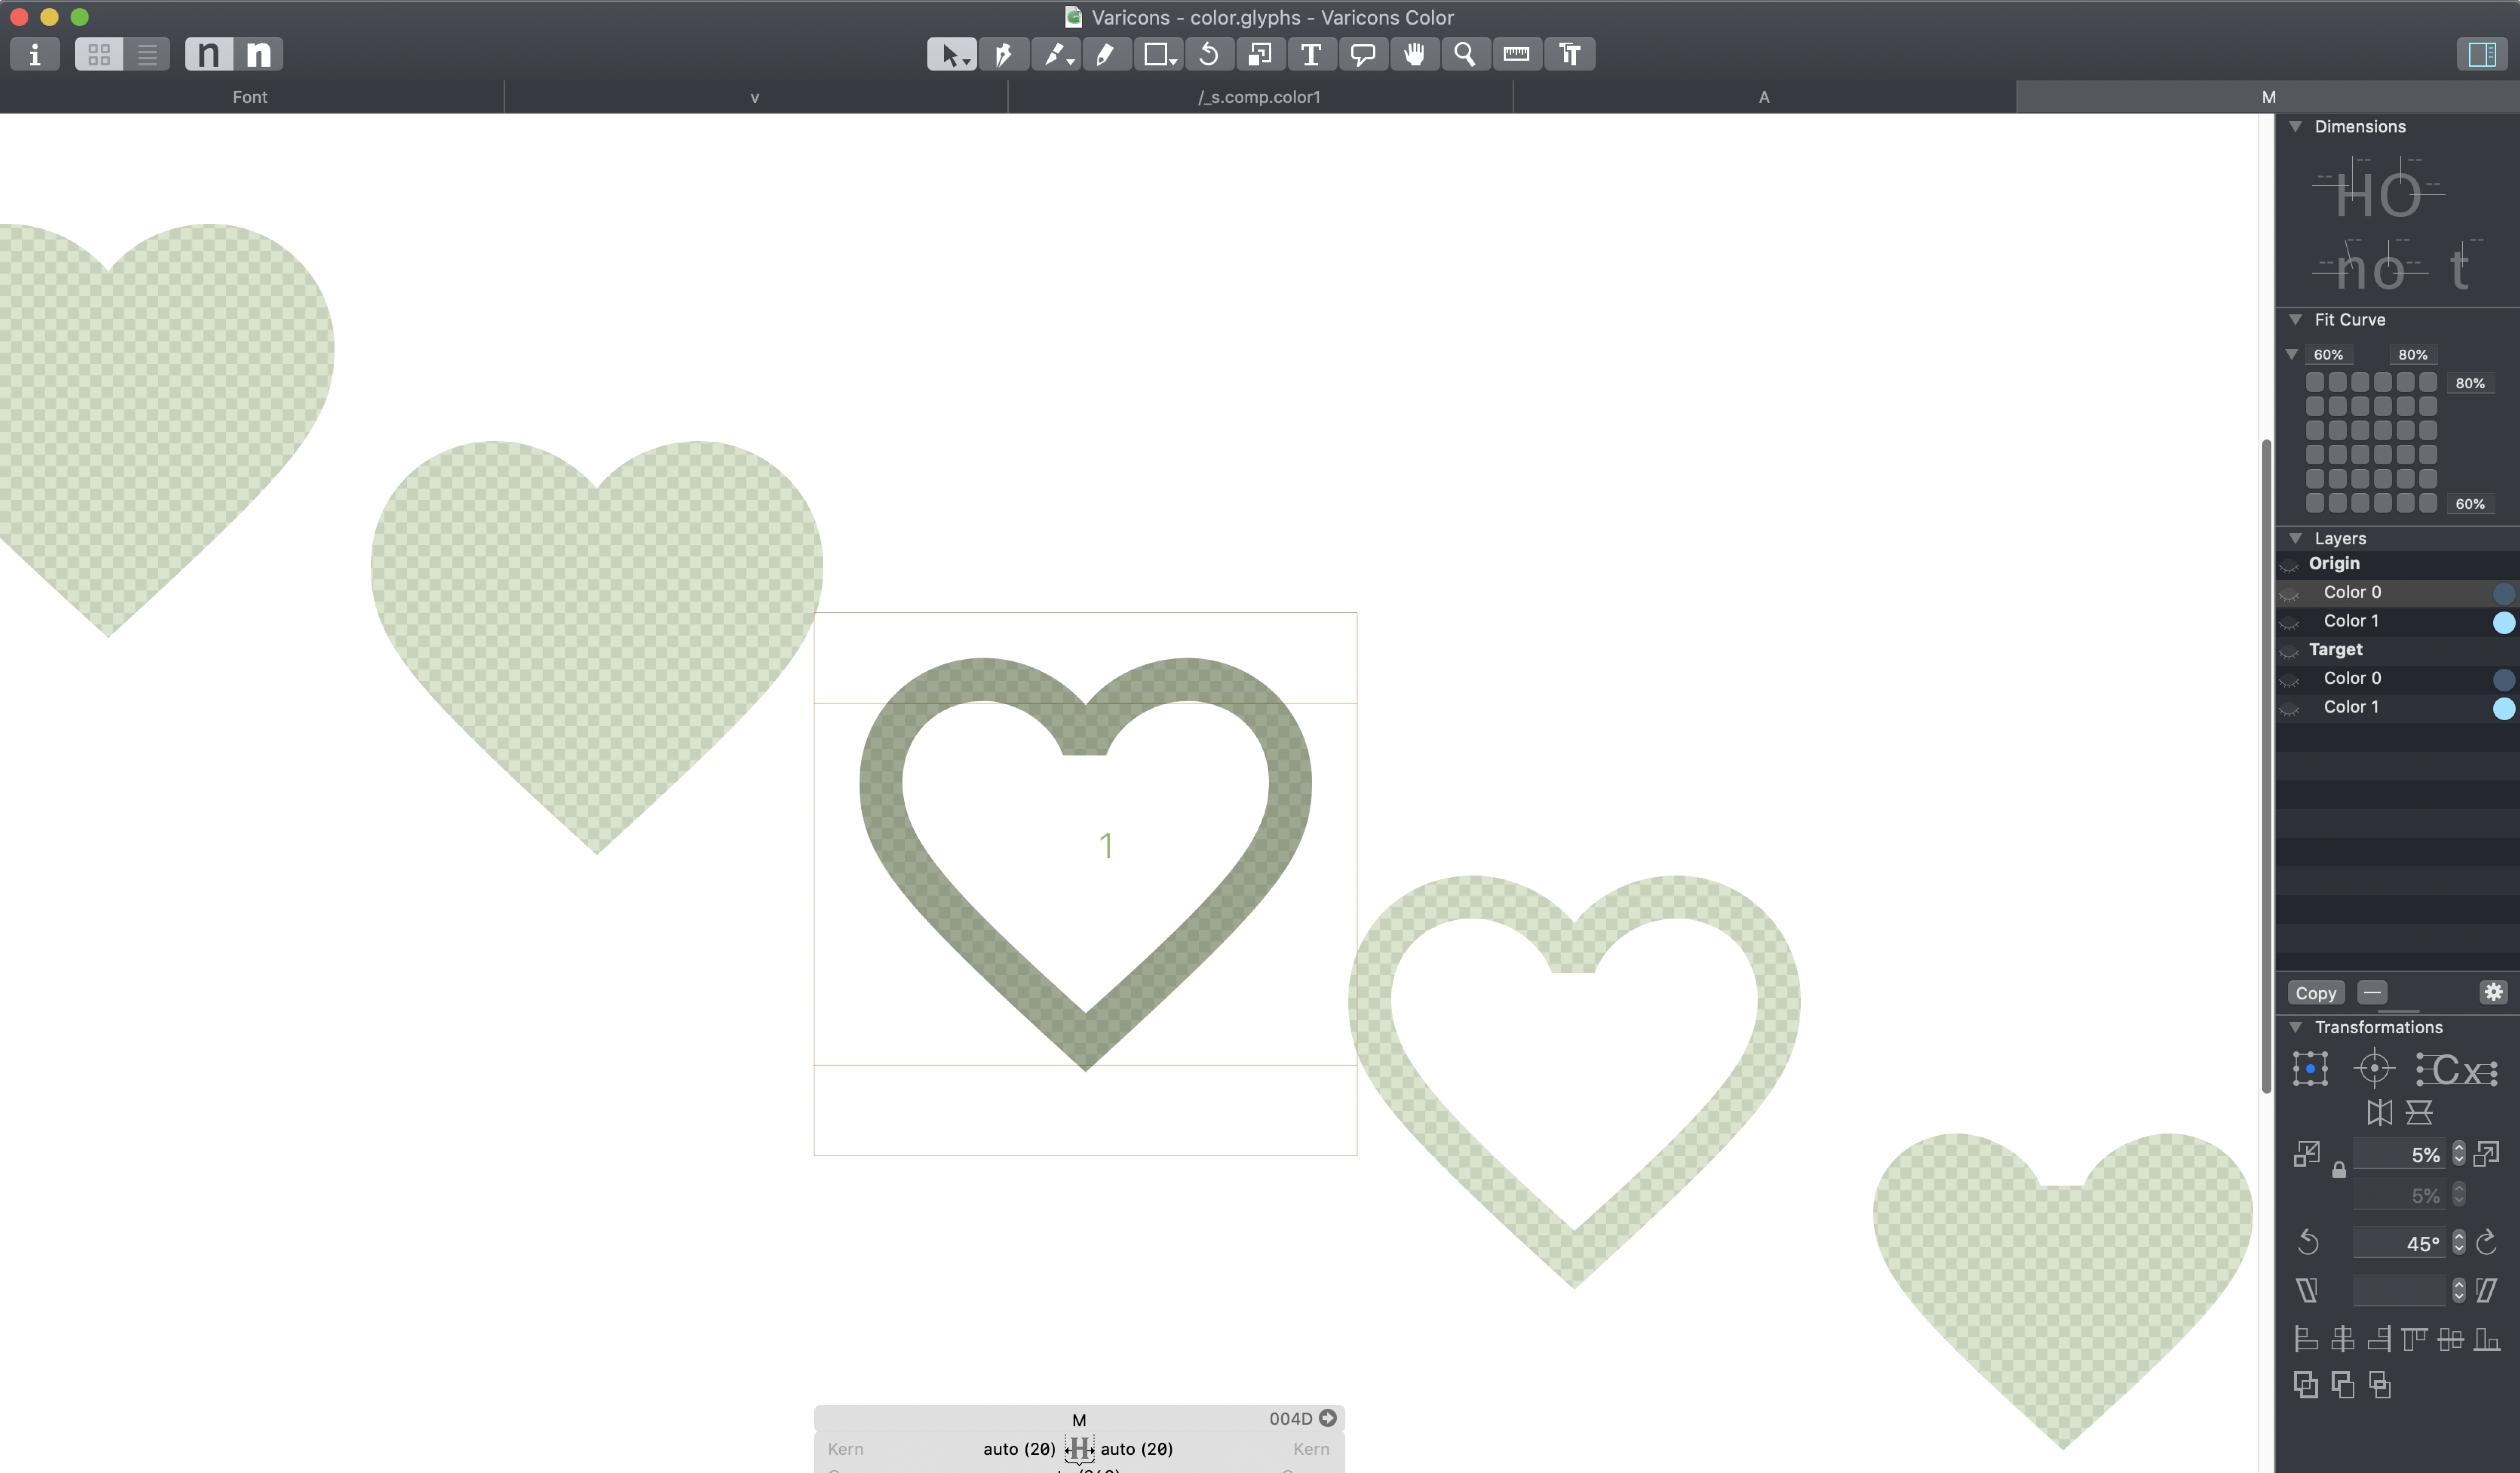
For two-tone icons, there is one additional step: icons need to be separated by color and placed into their corresponding color sub-layers. For example, to create this two-tone heart icon, we have to isolate different parts of the icon including their animations, based on the colors, and then place the icon parts into correct color layers.
Since there are two colors for the icon plus a fallback, create three copies of each variable font icon. Import these copies as components and place the original copy into the Origin and Target layers as the fallback. In the second copy, keep the parts of the icon that is in dark blue. Place this copy into the dark blue sublayers under Origin and Target. In the third copy, only include light blue parts. Place this copy into the light blue sublayer under Origin and Target.
Once these steps are done for every icon, export them to have a two-tone, animated variable icon font.
Use Anicons for your design projects
Incorporate Anicons into Designs
Easily incorporate Anicons into design projects by installing Anicons font files onto your machine. The downloaded Anicons project file comes with static versions of the icon font with two weights: Start and End. The static versions of Anicons work in design software that doesn’t support variable fonts or color fonts.

On the Web
Embed Anicons fonts into a webpage by copying the Anicons stylesheet into the <head> of the HTML. Add CSS to see Anicons in action!
Like with a regular font, use the @font-face declaration to first load the font. Use CSS code (font-variation-settings, hover or @keyframe) to make the icon font animations come alive. Play with code and animations on our How to Use page. Download the project and see more detailed information on Github.